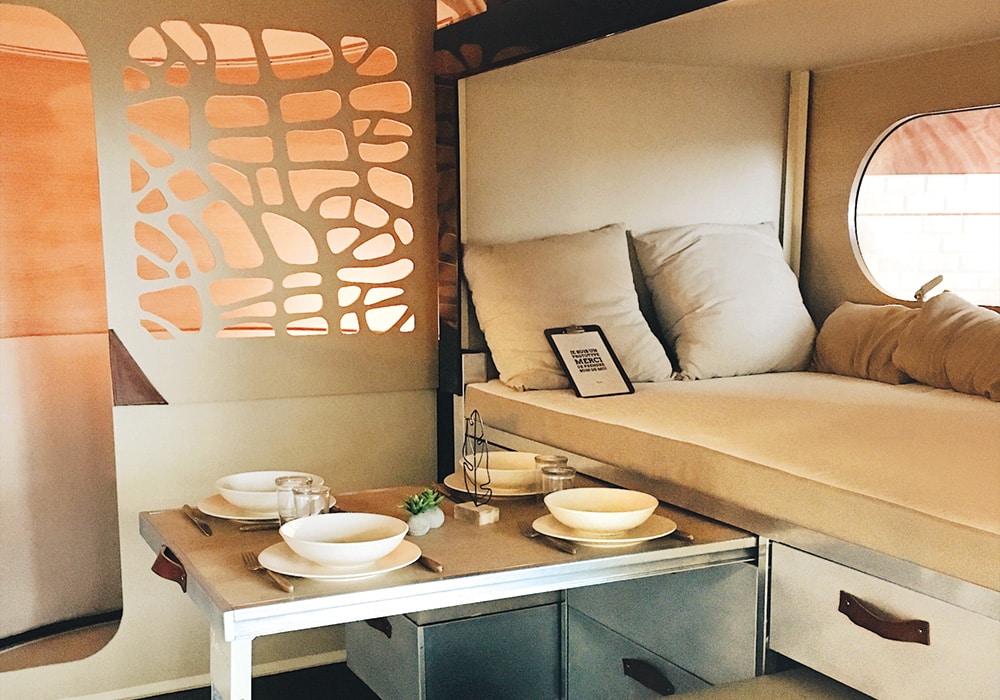
TOOL TIME
Winter provides a great opportunity to get onto some of the little jobs required to get your RV updated and ready to roll. Liz Dobson looks at some DIY essentials.
You may not be taking your RV out much at the moment, which means it’s a great time to be using your DIY skills to update your vehicle. Whether the interior could do with a quick and easy refresh, or you’re looking at some much-needed repairs, there are plenty of projects you can do at home on those weekends when you aren’t on the road. Time to make yourself a nice cup of tea and find out what you can do to beat the winter blues and get ready for your next adventures.
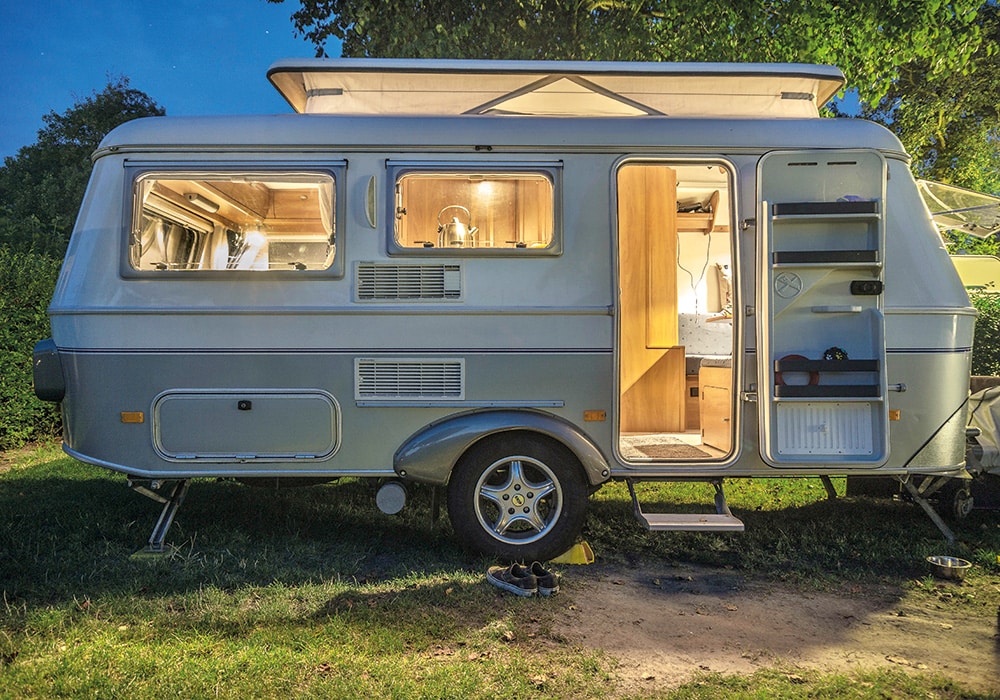
OUTDOOR DIY JOBS
Moving a caravan by hand is hard work but there are now plenty of permanently mounted motor movers available in New Zealand. Although this option is quite expensive (expect to pay well over $2000), once it’s attached, all you have to do is use the remote to operate it. This type of mover uses little motors that permanently mount on the chassis of the vehicle and is used with a remote control. It moves the caravan with rollers that turn each wheel, making it the perfect hands-off experience when manoeuvring into tight spaces. The motors are powered by the leisure battery.
Think about adding one as your winter project, as it’s an easy job to do. Supplied as an installation kit with two movers (one for each wheel), mounting hardware, control box and remote control, just remember to add an extra jack under the chassis (not caravan floor) before installing. The best location is in front of the axle but if this is not possible, try to fit it behind it.
Another popular off-season DIY project is repainting the exterior. Make sure you strip and sand your RV well to ensure a smooth finish; particularly rough areas might need to be sandblasted or filled. Use a good weatherproof external paint, and make sure the vehicle is fully watertight before painting, or you’ll just end up having to do it again.
OUTDOOR REPAIR KIT: THE BASICS
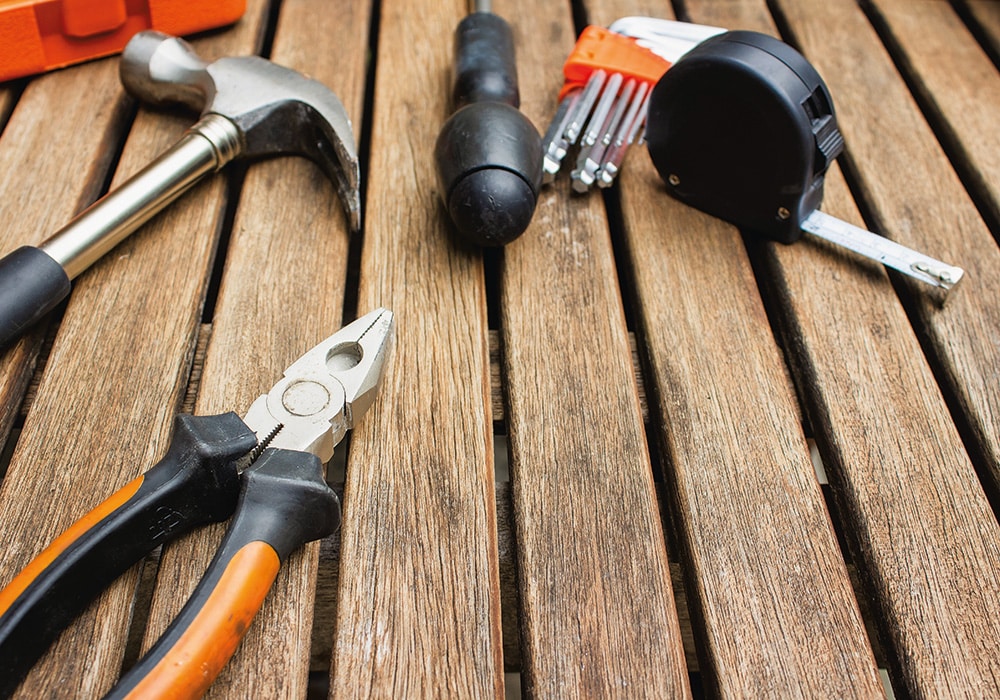
While you probably already have an extensive array of tools to prepare for any incidents when you are on the road, winter is a great time to take stock of your tools and make a DIY box for those little jobs.
Your toolkit should at least include a small crowbar, a hammer, a screwdriver and sockets to ensure that any small fix-it jobs don’t put a damper on your trip. A headlamp is always a good idea: not only can you find your campsite, but you can also check under the vehicle during the day or help you set up camp after dark. Caravanners in particular might want to look at carrying a tyre pressure gauge; you can’t rely on having a service station on your route to check your tyre pressures.
INDOOR DIY PROJECTS
If your RV upholstery is looking a bit tired, now is a good time to repair or replace. At the same time, you might want to consider replacing any foam cushioning that’s lost its support (or, if you own a fixed bed model, perhaps a new mattress will provide better support). It might just help transform your vehicle – at a fraction of the cost of upgrading to something newer.
If you have a decent sewing machine, consider doing it yourself rather than going to an upholsterer. All you need to do is use the existing material as a pattern for new fabric and check out places such as Pararubber for new inners. Instead of zips (that can be fiddly to sew) consider using velcro; this also makes it easier to remove the covers if you need to clean them.
INDOOR REPAIR KIT: THE BASICS
You’ll need a small plastic container with a lid and if you have a label maker make a DIY sign for it so it doesn’t get mixed up with all your other containers stored around the vehicle.
In it you’ll need:
Duct tape: The MacGyver of equipment that can fix most jobs, big or small, including a leak in a window or a tear.
Zip ties: They can hold different hoses and wires in the right place and are easy to angle if anything starts to droop and get in the way.
Pocket knife: A good pocket knife can be used on pretty basic things like opening bags, slicing up cheese, or tearing through packages, but it can also be useful for repairs like cutting ropes or stripping the insulation from wires.
Pilers: Can be useful for getting into the tight spots in your RV, but they also work very well for holding things together.
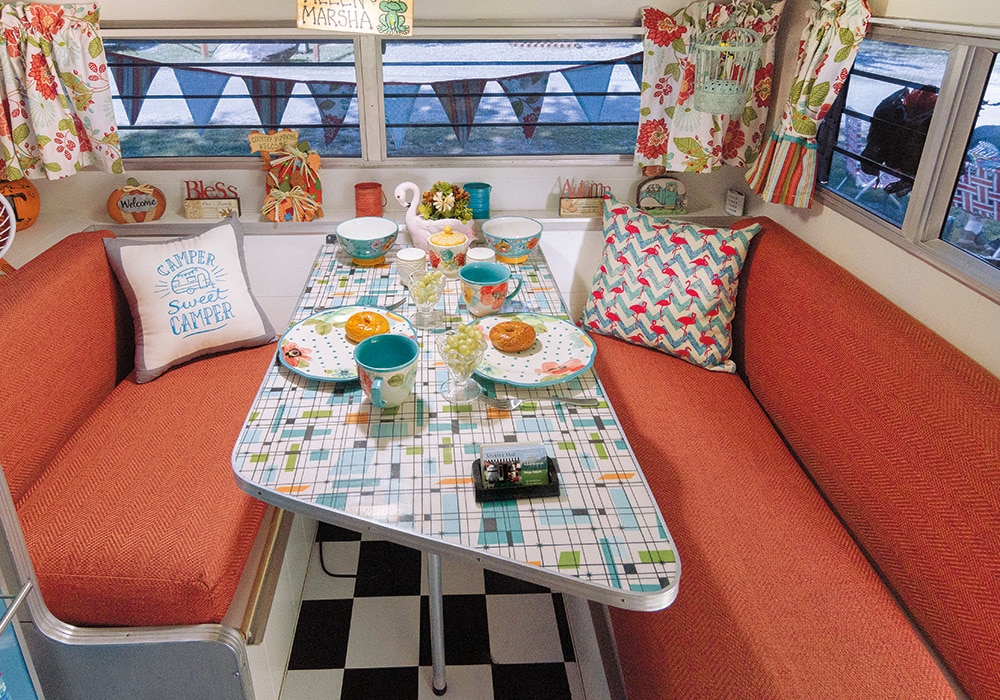
TOP 5 DIY PROJECTS
Check out these cheap and cheerful ways to update and refresh your RV’s interior.
1 Cushions: My son the sewer can whip one of these up in just five minutes. You’ll need half a metre of cotton fabric, and a cushion inner, which you can get from Spotlight from about $8. Find a pattern that has a flap rather than a zip so it’s easy to clean the covers. We used a pattern from MelanieKham.com.
2 Curtains: Maybe your existing curtains are a bit moldy, or you just want an update. Rod-threaded versions are really easy to make. You can use the existing curtains as patterns (remember to add a seam) and check out the fabrics on sale at places such as Spotlight.
3 New theme: Maybe you want to go modern, or retro is your jam. Winter is the time to look at the décor of your mobile home. For inspiration, go to Pinterest.com and search under RV or caravan interiors. I like Scandinavian minimalist, so I replaced my coloured pattern duvet cover with a neutral grey one. Go one size up from your duvet inner to create a stylish overhang.
4 Bunting: You don’t need a sewing machine to make some cool bunting that you can use to add some fun to your interior and to use outside when you park up. You just need some ribbon or bias binding, fabric for the triangles, scissors and a glue gun. Cut a piece of cardboard into a triangle and use that as a guide.
5 Lighting: Add some more light to those dark corners of your vehicle (or over the kitchen work bench) thanks to the cheap “Peel N Stick Lights with Remote” We found ours at online store magnamail.co.nz, with a regular price of $24.90. With no wiring and no electrician needed, the three lights have strong peel ‘n’ stick backing, so no tools needed. The website says they are “super easy to operate, with the handy remote that comes with a peel ‘n’ stick holder you can conveniently place on the wall”.
