The LED revolution shows no signs of abating. Cheaper and more robust than ever, they've become the norm rather than the exception in the RV fraternity. But now designers with a creative bent have come to the party, delivering an eclectic range of shapes, sizes, and colours for sprucing up your vehicle — inside and out. And good news — fitting the lights is well within the scope of the DIYer.
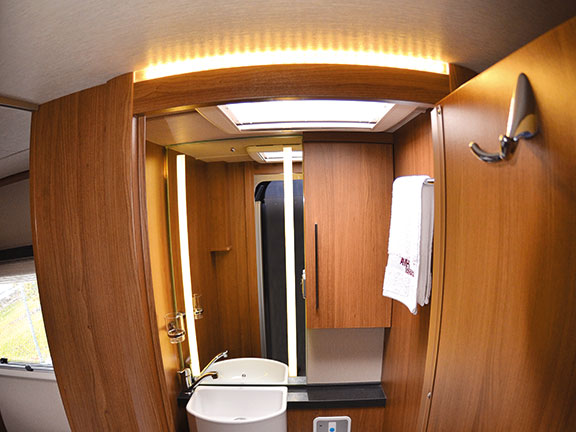
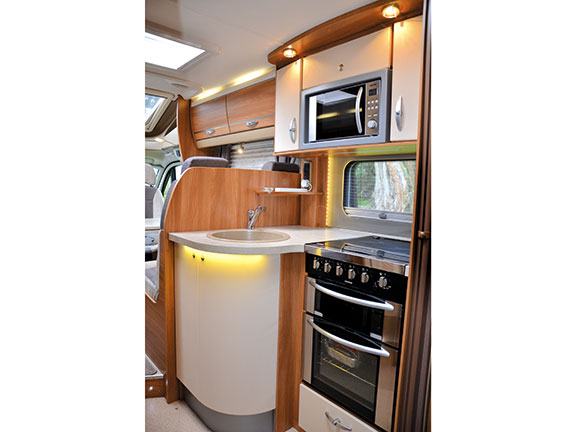
Perhaps the most interesting and versatile innovation is strip lighting — a long ribbon of tiny LEDs designed for mounting behind overhead lockers, under kitchen cabinets, along the splashback, edge lighting for counters and shelving, under the toe-kick area, along the floor, or behind bathroom mirrors. The effect is subtle, elegant and mood-enhancing — very cool.
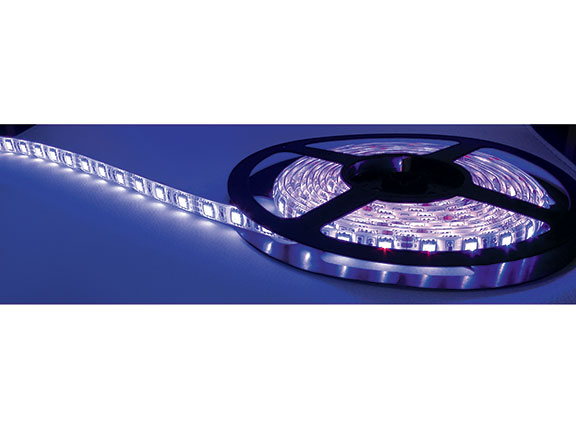
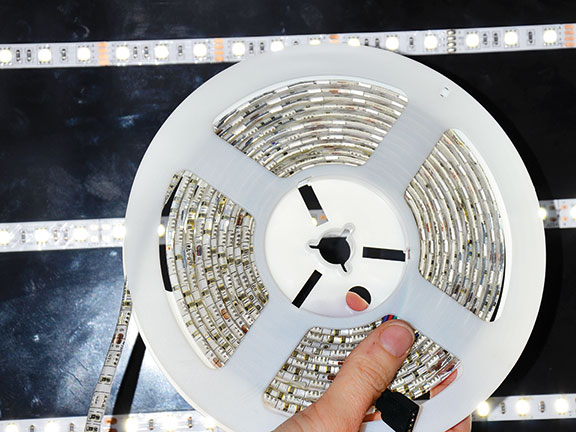
A good place to explore the possibilities is Auckland's LED World, where the strips are sold in five-metre rolls. Depending on the number of LEDs per metre (anything between 30 and 120), their brightness, and their waterproof rating, the rolls sell for between $79 and $278.
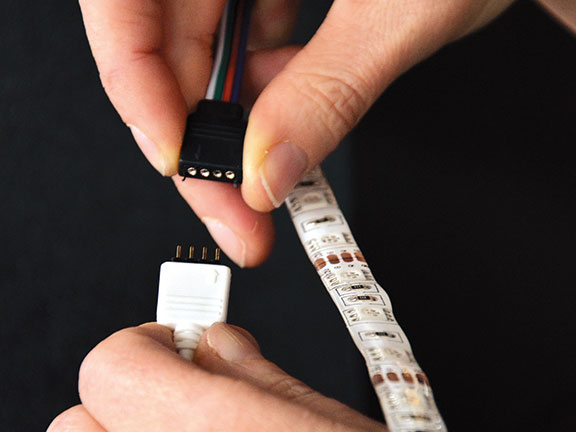
Thin, narrow, and flexible, the strips are like a roll of ribbon — use a pair of scissors to cut off lengths to suit your application. They're clearly marked to indicate where you should cut. Connecting individual pieces to one another requires a little soldering — a pair of copper contact points are provided at regular intervals. If you don't fancy your skills with a soldering gun, LED World's owner Paul Crewther will do it for you and prepare the strips to your specified lengths. He charges $60 an hour.
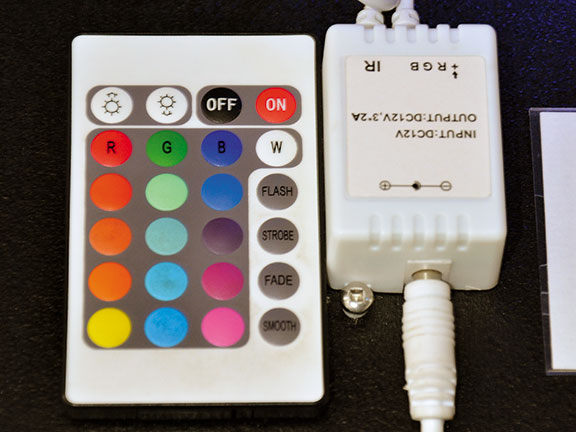
Each ribbon needs a small voltage regulator connected between the ribbon and the battery. Each ribbon also comes with a remote RF controller (free) for making various adjustments to the lights.
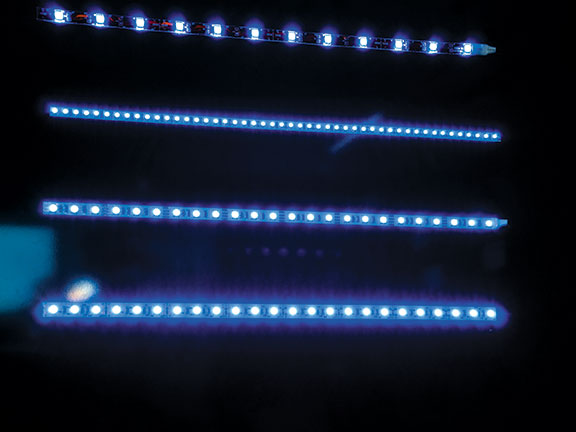
While the LED strips are available in multiple colours, the controller offers much more. It enables a range of adjustments — brightness, dimming, fading on and off, and strobing. Best of all, a single ribbon of LEDs can cycle endlessly through different colours. You can also create your own custom colours.
How it works
The five-metre ribbons are called RGB strips (red, green, blue). You may remember from high school physics that mixed together in equal proportions, these primary colours produce white light. Change the ratio (with the controller's keypad), and hey, presto — you get custom colours.
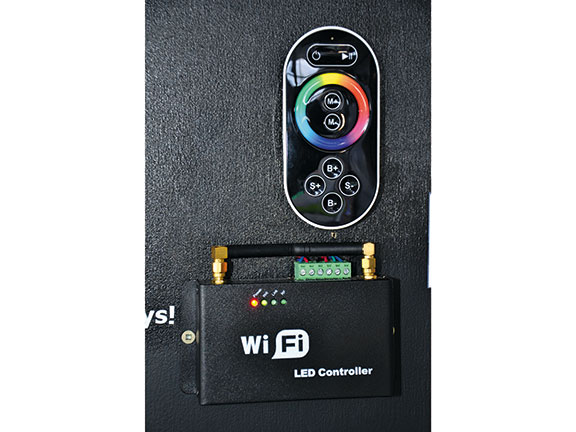
A basic controller has 24 keys, 16 standard colours, and is programmed with a selection of four patterns (the way the lights cycle on and off). A more sophisticated model has 44 keys, 20 standard colours and six custom colours — with far more functions for brightness, speed, and pattern.
Basic level controllers communicate by infrared signal and require line of sight. That means the tiny receiver needs to be mounted somewhere visible so you can point the controller at it (just like changing the channels on your TV at home). More sophisticated controllers communicate via WiFi so the receiver can be hidden discreetly behind the cabinets. You don't have to point the controller anywhere.
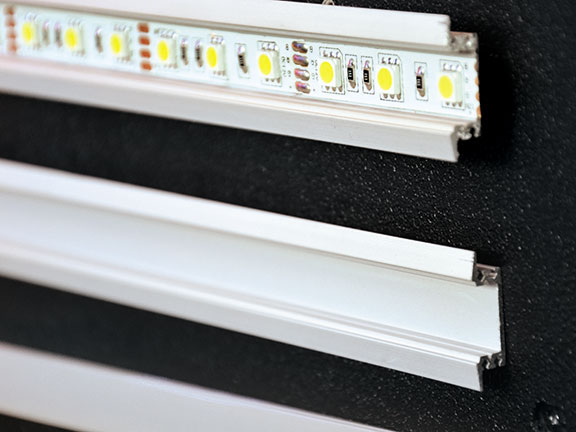
Mounting the strips couldn't be easier. They are manufactured with double-sided tape attached on the back to fix to any surface. Alternatively, you can slide them into slim aluminium channels, which in turn are glued to the surface or fixed with mounting brackets.
The advantage of the channels is they come with a diffuser — a long, curved section of plastic that slides into the channel after you've installed the LED strips. The plastic serves to diffuse the light, so it looks more like a fluorescent tube than a row of individual LEDs.
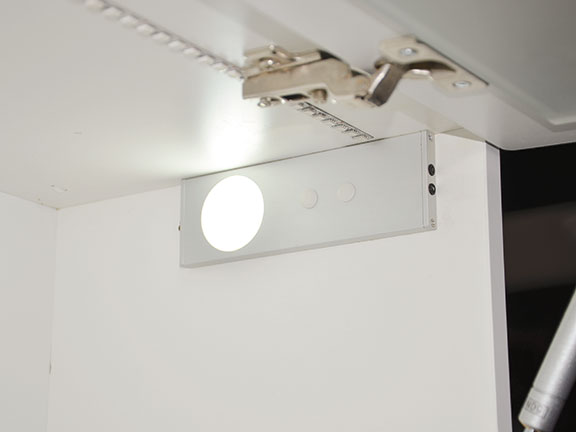
The range of other LED applications is extensive — one of my favourites is the cabinet light. Equipped with a sensor, it comes on as soon as you open the door. This is great for kitchen and bathroom lockers, as well as wardrobes — plenty of light to help you decide what to wear.
Some lights are also equipped with PIR (passive infrared) sensors — more commonly called motion detectors. We've all stumbled through a dark RV at 3am in search of a drink (of water). A subtle, PIR-equipped light will help to show the way without waking everyone else.
Exterior applications
Fancy outside lights? Strip LEDs are also available in two different grades for resisting water: the basic waterproof model (casual, incidental water) and the fully-submersible version (IP68 rated). This means the strip can be applied to the outside of your RV.
A popular option is adding a strip to the awning. This is useful for finding your way back to the RV after a party when your vision might be a little blurry. Note the lights can also be activated with an optional fob – like the car alarm. So if you're really confused and unable to find your RV in a motorcamp bulging with vehicles, click the fob to turn yours into a homing beacon.
If the party's at your RV, the lights can be useful for creating the right atmosphere — a lurid purple exterior cycling through lime green, bright red, and iridescent blue might see your home mistaken for a mobile bordello, but it will have your guests moving to the music in no time.
Adding strip lights to the RV's outer shell is another option — particularly along the front spoiler. But go cautiously — be aware there are very specific regulations related to fixing lights to the front and rear of vehicles (white in front, red at the back).
The added appeal of creative LED lighting, of course, is that it will have very little impact on your batteries. The technology is supremely energy-efficient, virtually indestructible, and maintenance-free.
For the latest reviews, subscribe to our Motorhomes, Caravans & Destinations magazine here.

Behind the brand: Rolleston Caravans
When Lucy and Sergey Shushin imported their first UK caravan some 11 years ago for their personal use, they had no idea they were embarking on the first step of their future business.