A little plywood pop-top camper lovingly built in the 1960s has undergone a mega makeover with plenty of artistic flair. The eye-catching result centres around a hand-painted mural that showcases a rainbow of Resene colours for a technicolour wonder.
When David Mawson took his projected colour palette to his local Resene Colorshop in Feilding, he may have inadvertently set a new a record for the number of colours requested for one project.
The magnificent results speak for themselves, and while it’s probably not that often a client will ask for 15 Resene colours – with a plan to utilise each one – David says the staff were “very helpful” and keen to mix all of the chosen colours to his specifications.
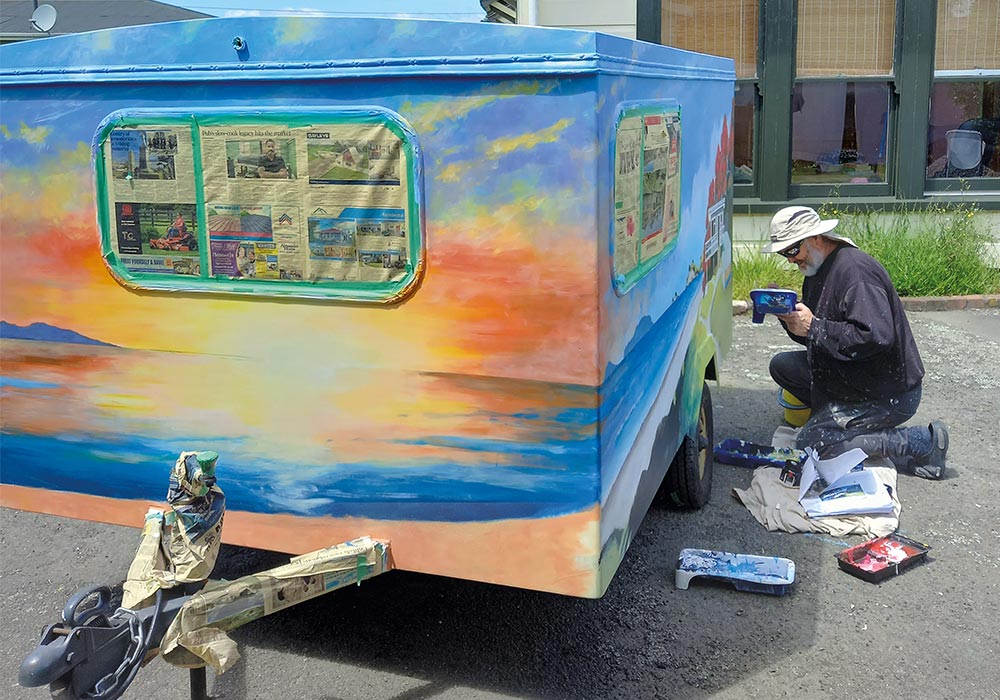
Having just completed a major renovation/rebuild of the sweet little ply camper he affectionately calls Camperette for his friend Christine, Dave’s attention eventually turned to the exterior painting. It was here that his hidden talents really came to the fore.
“Chris asked if I could do a mural, and I guess I got a bit carried away, although she loves it,” he says, adding that all the undercoat and top colours are Resene Lumbersider Low Sheen with a final two coats of Resene Clearcoat UVS water-borne glaze.
“It looks great and I know its protected.”
Resene Lumbersider Low Sheen is a waterborne paint based on a rough water-borne resin to ensure maximum durability in exposed conditions.
A heartfelt reno

Christine bought her lovely camper ‘way back in 1990’ from a family friend who no longer needed it.
“Her father was the one who did the initial renovation. It was originally a trailer built in 1966.”
The camper was constructed so that the roof lifts up on an angle, held up by two struts. The canvas clips into place to make it weatherproof. The large bed takes up most of the space, but converts into a table and seating area for daytime. Storage is in two cupboards by the doorway.
The original set-up was used as it was for many years by Christine with her three young boys.
“We had a tent that we could attach to the end, so the boys slept there and we also used it for storage.”
Once the boys got older, the camperette was stored undercover in the shed next to the calf-rearing sheds. The wiring got chewed by the calves and time generally took its toll. With David (and his wife Jude), Christine decided to bring it out of retirement so that it could be used again, initially as a spare bedroom and eventually to be road legal again and be used by her and for friends and family.
“The outside of the camperette was plywood but because it had a join through the middle, the seam had allowed water to get in. And while it did not have major damage structurally, David decided to replace it with new plywood… and with that the complete rebuild started.”

After replacing the plywood and making the surface level with epoxy glues and resin, the next step was to replace the tyres and wheel bearings. This was not as simple and straightforward as it sounds. The camperette has quite small wheels – they may have originally been Mini tyres – and it took a while to get the parts. But they were eventually repaired, greased and ready to go.
As for the interior, there was also plenty to do. “Obviously the camperette was quite well used, and one of the first things that needed doing was the canvas. I had all the zips replaced or repaired. The canvas itself was in remarkably good condition and didn’t need replacing, so it is original.”
New squabs were made by Auto Interiors in Palmerston North. “They did an amazing job and also made a new awning over the doorway. The old one was too heavy and I’d lost the original poles. The material used these days is so much lighter.”
Completing the renovation, the interior cupboards were remade and finally Jude made the yellow curtains, “because we wanted something that would be retro or Kiwiana”.
Next came discussing exterior colour schemes. “In the beginning, some years ago, we’d gone over possible colour schemes and come up with some retro styles, and also some more traditional ones. The original colour was a reddish brown around the base with a yellow-creamy colour on the top.
“Once the white primer had gone on, one of the suggestions was to paint two handles and make it look like a giant chilly bin. There were many suggestions over the time it was being repaired, some of them quite outlandish, depending on how much wine had been consumed,” Christine says.
As outlandish as the suggestions sometimes became, ultimately it was decided to complete the exterior with a mural.

“David is an amazing artist – extremely talented. He started with some sketches. I watched it from the beginning, as pencil lines were drawn over the white undercoat. It slowly developed each time I visited.”
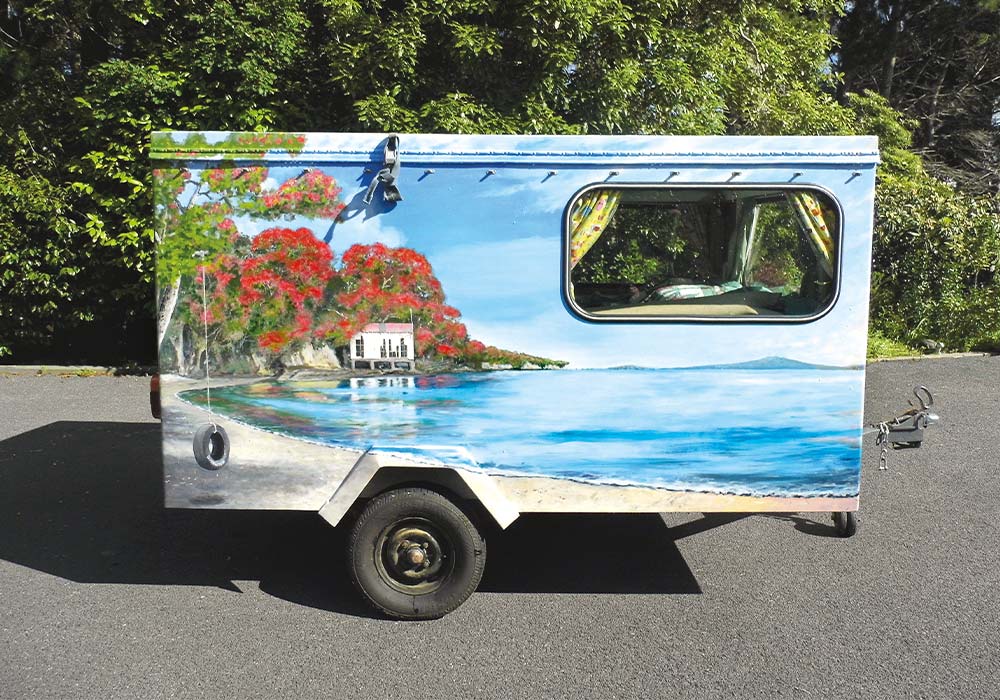
Christine says there was lots of discussion about the right hand side of the vehicle which features the Shelly Beach scene, especially about how to get the tyre on.
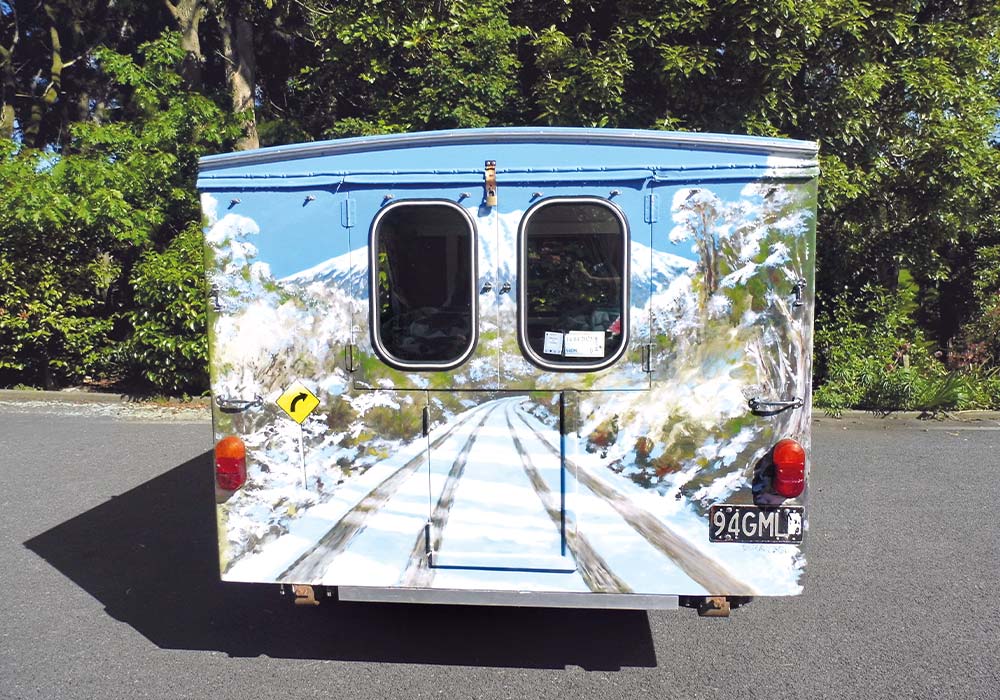
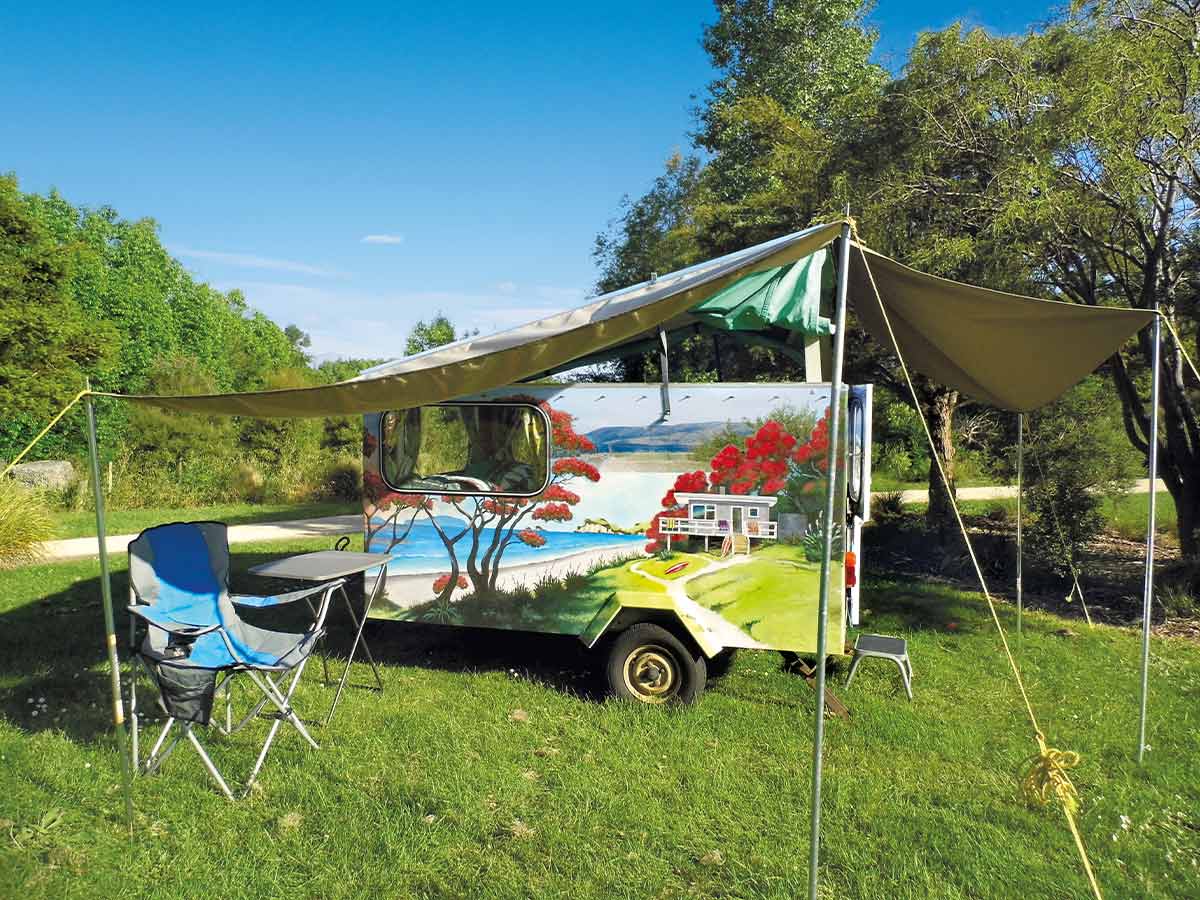
“Otherwise I just let him get on with it, as he seemed to have the complete picture in his head. The mountain scene is from Mt Taranaki. The front is a mixture of Lake Taupō. The left-hand-side is a composite of scenes from the Coromandel.”
The mural painting was finished just before Christmas 2023, so traveling with it on is still relatively new for Christine, but she’s already noticed how it initiates lots of conversations.
“It’s always interesting to watch people in the cars as they pass you. It certainly is a conversation starter. When in a camping ground, it’s lovely to talk to other campers. It was in Taupō this year at Five Mile Bay. Then my son, his wife and two kids took it up to Napier, they had a wonderful time.”
This summer it will continue to be used by Christine and the wider family. “I hope to travel a lot more now that I have finally retired,” she says.


