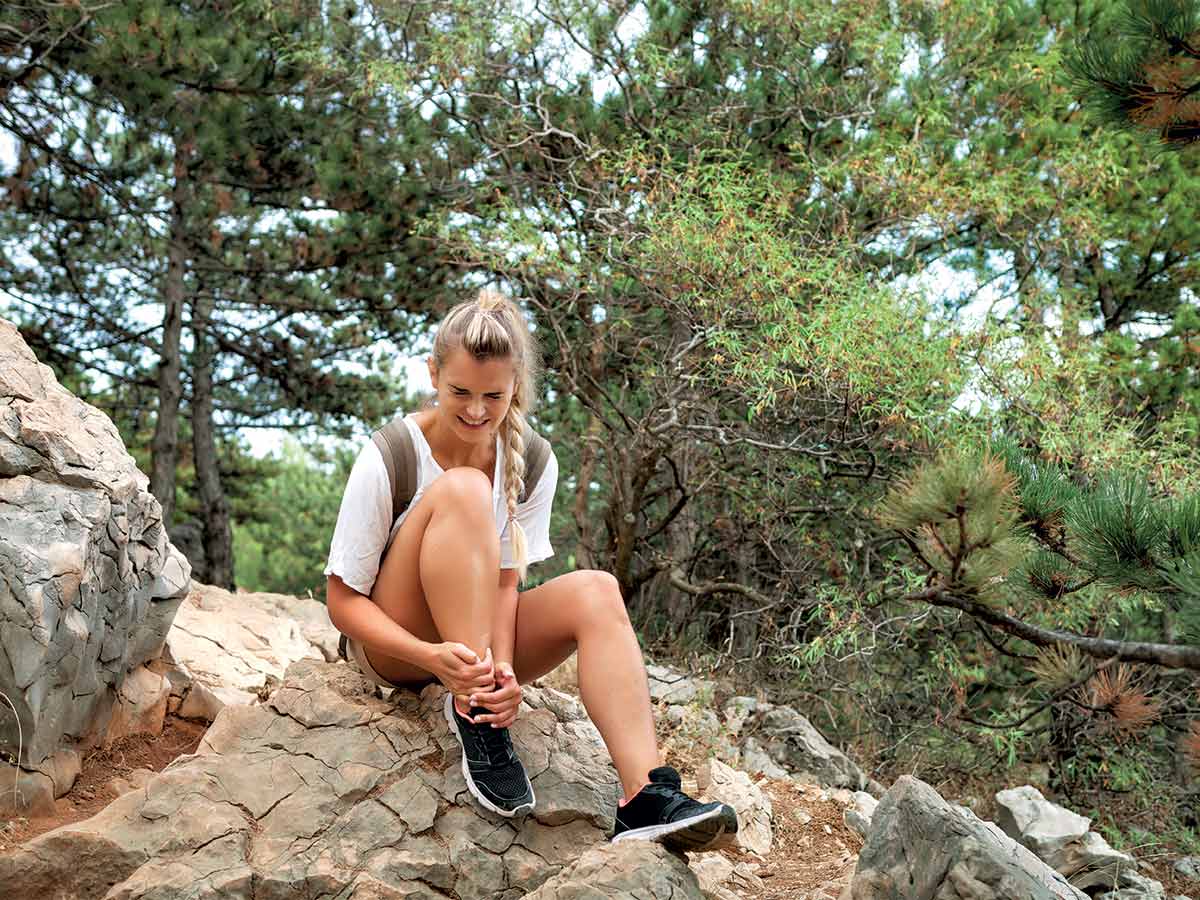
Physiotherapist (NZRP, BHSc, PGDip) and writer Mel de Jongh is well qualified to advise around managing injuries and given that accidents often happen while out exploring or adventuring around Aotearoa, she shares some helpful tips for managing an ankle injury while travelling
You’re strolling through the bush admiring the pīwakawaka/fantail, flitting among the trees when wham! you step on a protruding root and your ankle gives way. Acute pain plunges you to the ground and your unfinished holiday aspirations vanish above the canopy.
Sustaining an injury while on holiday can be a real nuisance. However, unlike illness, if you have the tools and knowledge to manage it, your injury need not ruin your whole trip.
Ankle injuries vary in severity and may or may not require a trip to the closest emergency department. But before you rush off to endure long wait times and expose yourself to unnecessary bugs, review the signs below to see if it’s necessary.
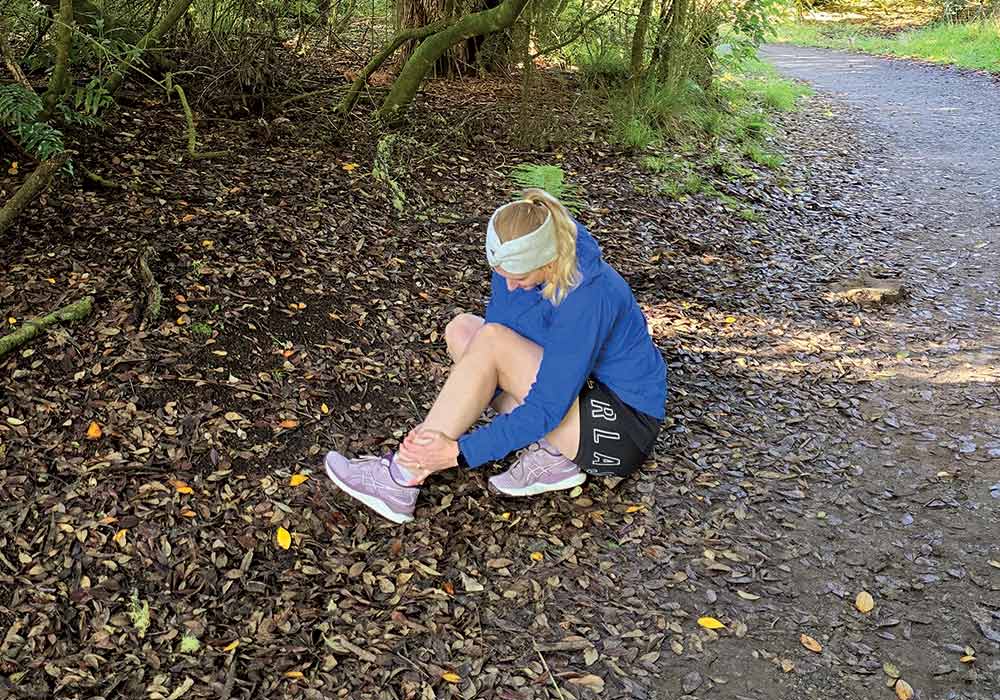
When you first roll your ankle, you will likely experience localised, intense pain. While you shout expletives into the fern layer, try to immediately offload and straighten your ankle. If you have ice spray or an instant ice pack with you, now is its time to shine. But keep your shoe on. Once removed, you may have difficulty wrestling it back on again.
Once the pain (and cursing) subside, ask your travel buddy to assist you back to your campsite. A fallen tree branch, used on the opposite arm to the injured side, can make a useful crutch and save your partner from joining a three-legged hobble. Crutch forward as you step your injured foot forward so you’re distributing your weight off your injured foot.
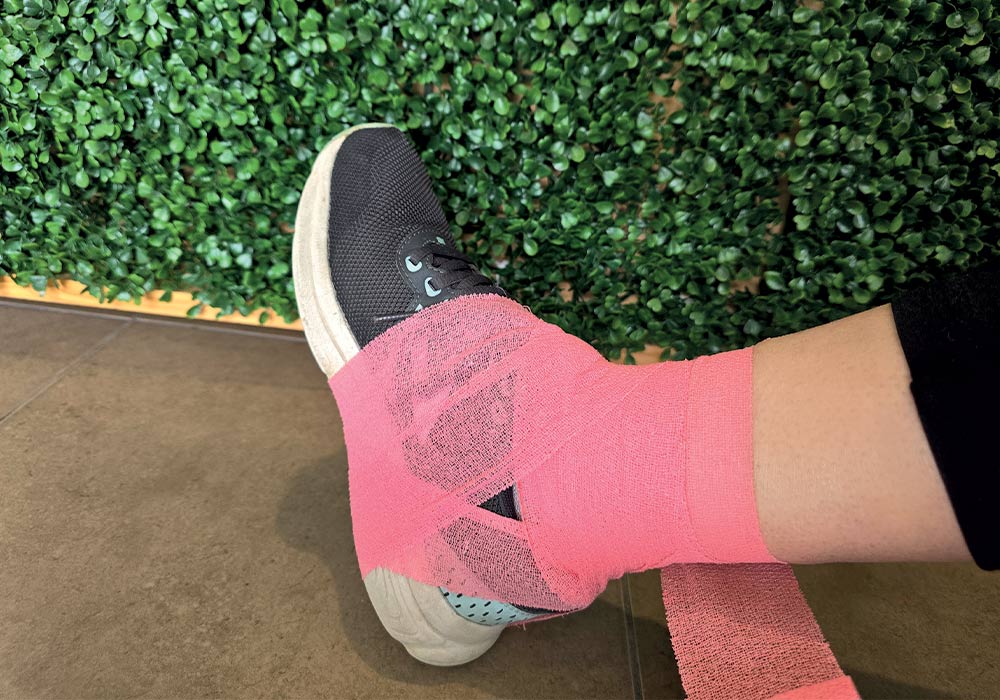
Once you reach your campsite, compress, ice, and elevate your ankle. Compression can be as simple as a towel wrapped around your ankle firmly. Avoid anything too rigid, as swelling is likely to increase at this point. Keep the ice on for 20 minutes and then repeat this hourly for the remainder of the day. Only walk in small doses as pain allows. You can now put a firm sock or compression bandage for support. If your toes become swollen or blue, though, this could indicate that the compression is too tight.
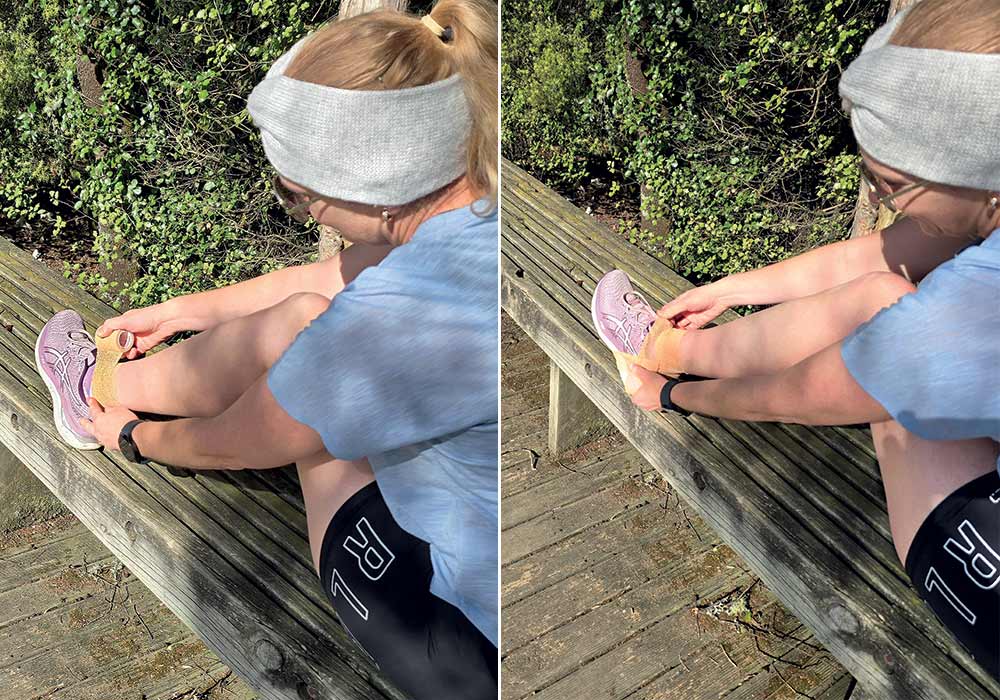
Right: Then bandage around your foot with your shoe on
Here are some signs indicating that you may need to head to the emergency department:
- Significant swelling that spreads to your foot or lower leg
- If you’re unable to put any weight on the foot at all
- If you have numbness or pins and needles in your foot
- If you suspect your toes are not getting blood supply
- If you have a bone sticking out
You are likely to be able to manage it yourself if:
- The swelling is mild and localised
- You can put weight on your foot, even if it hurts a little
Tips for self-management in the acute phase
- For the first three days, ice and elevate your ankle two to three times per day.
- Pump your foot up and down regularly while elevated.
- Avoid vigorously circling your ankle.
- Keep a compression sock on your ankle when you’re up on your feet but remove the compression when you go to bed.
- Walk as tolerated, wearing supportive, lace-up trainers.
- Avoid slip-on shoes, sandals, or jandals, as these make your potentially injured tendons work harder and could prolong healing.
- Avoid anti-inflammatory medication such as ibuprofen or diclofenac for the first 48 hours, as this can impede your body’s healing response.
- Try to walk normally on your ankle and if it starts to get sore, it’s time to sit down and elevate your foot.
- Don’t be alarmed if your ankle is a bit swollen for some time after injury. This is normal and will settle once the injury is fully healed.
Management after three days
Contrary to my children’s belief that mum should stay away from their sore bits, you can now safely touch the injury site. Use some arnica or muscle rub and gently massage the area every second day to encourage the development of strong scar tissue. If you injured the outside of the ankle, drop your finger under the ankle bone that sticks out and follow the bone around with your finger from front to back. If there’s a tender spot, focus on that area for a few minutes as firmly as you can tolerate.
If swelling is not too bad, you might opt to use Kinesio tape or K-tape over the injured part of your ankle. This tape is usually hypo-allergenic and can be worn in the shower and air dried and it comes in lots of funky colours to match your mood. However, watch the skin for redness or itching and only keep the K-tape on for a maximum of two days. Allow your skin to breathe for a few hours before you re-apply it. You can opt to use the compression sock over the top as well if you think you need extra support.
Want to stay active on your holiday?
If chair dancing is not your vibe, it’s fine to go for short walks if you can get shoes on and it isn’t painful. Make sure you’re wearing good, lace-up trainers and remain on flat, stable terrain. Before you ask, no, crocs are not walking shoes. When your ankle starts to hurt, it’s time to return to camp and crack out the cheese, nibbles, and re-acquaint yourself with the ice pack.
Alternatively, cycling is a good way to keep active, as long as your ankle is pain-free. Avoid the temptation to hit the mountain bike track, though. Now is not the time to take risks. A swim or walking in the water is another option, however, without too much use of your feet. Never use flippers after an ankle injury, as these will overload the ligaments and tendons around the ankle and cause further damage.
If your ankle is still sore, swollen, or feels unstable two weeks post-injury, it’s time to see a physiotherapist. If your injury took place in New Zealand, you will be entitled to subsidised treatment and investigations via ACC. You do not generally need a GP referral for treatment; book in with your preferred provider and they will be able to register your injury.
First-aid kit preparation
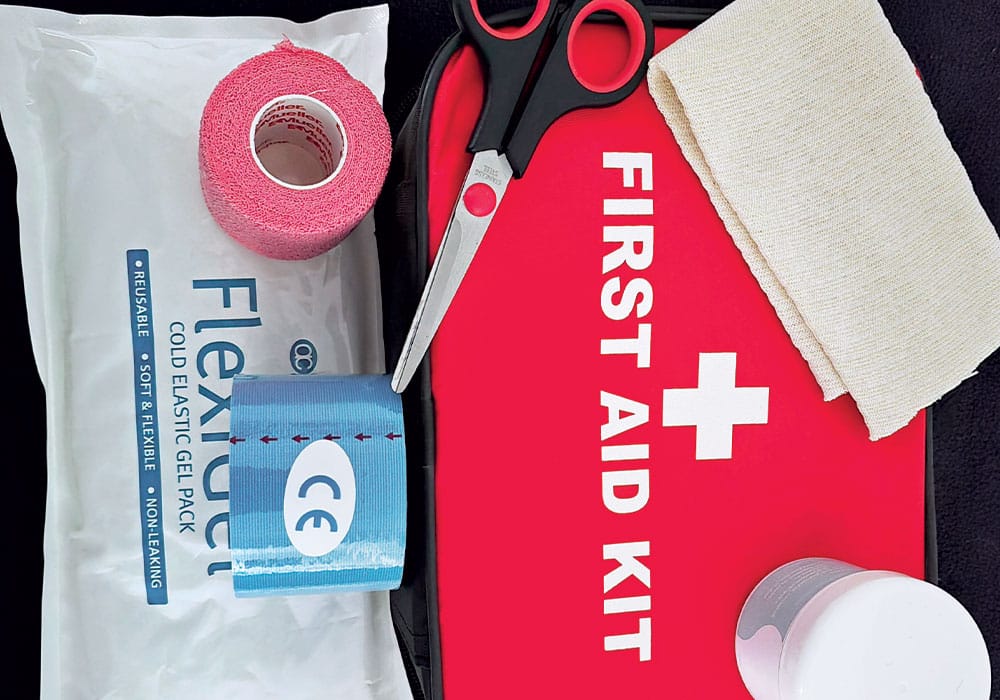
As the saying goes, if you have it, you won’t need it. I tend to have the most robust first-aid kit on our holidays, much to my family’s amusement. These are some must-haves for a foot or ankle injury.
- A soft ice pack (that will mould around your foot)
- An instant ice pack to take in your backpack
- An ankle compression sock or Tubigrip (correct size for everyone on your trip)
- Kinesio tape (K-tape)
- Pain-relieving ointment or massage balm
- A spare sense of humour

