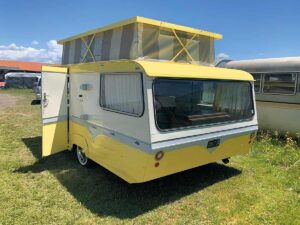
Spring is in the air, and if it’s been a few months since you last gave your RV a serious clean-out, now is the time. To help you get started, Claire Smith has put together the ultimate guide to spring cleaning and prepping your RV for comfy, clean, and safe travels.
It’s been a typical wet, cold winter, but finally, spring is here, and with it comes the perfect opportunity to freshen up your motorhome or caravan for the sunny season. Whether you’re planning a quick weekend getaway or gearing up to spend weeks on the road, having a clean and road-ready RV makes it so much more enjoyable.
First things first… the once-over
Before you get stuck in with the soapy suds and dustcloths, it’s a good idea to start by giving your RV a once-over to check for any winter wear and tear. Carefully inspect the exterior for cracks, dents, or rust. Inside, look for signs of water damage, mould, or mildew on the walls, ceiling, and floors. Make a note of anything that might need addressing before you hit the road and plan for repairs. You may be able to sort some of it yourself, but don’t ignore anything that needs professional attention – these things only tend to get worse, and usually at the most inconvenient time.
Declutter, dust, and deep clean
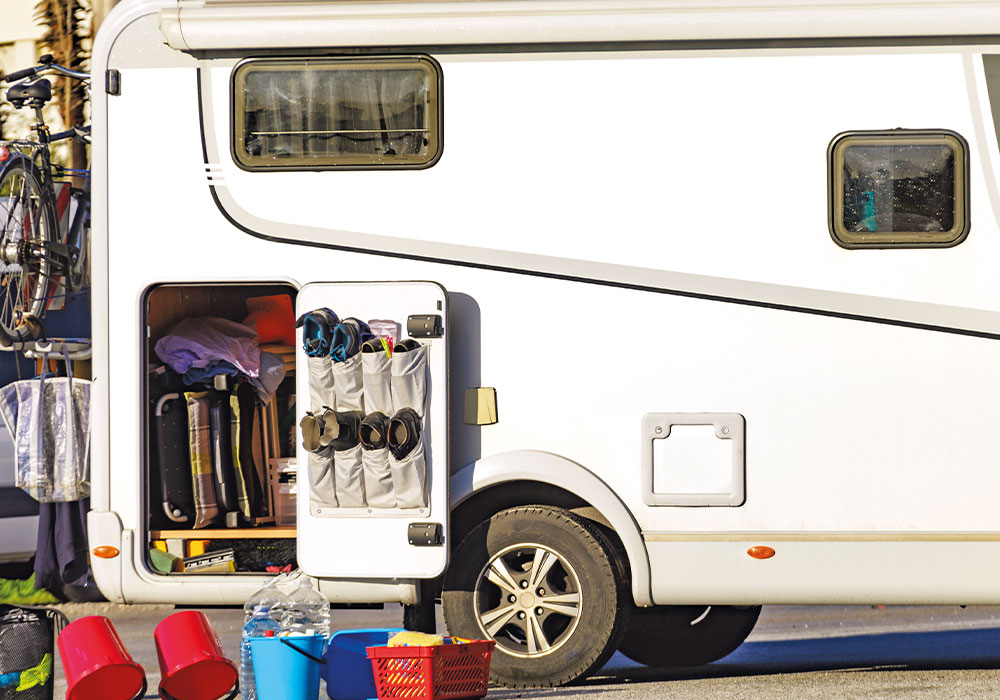
A good spring clean starts with a serious declutter. Often the best way to do that is to empty out your RV. Take out all those pots and pans, strip the beds, empty the cupboards and get ready to dust, wipe, and disinfect.
Pay attention to countertops, tables, shelves, and any other surfaces. Don’t forget the frequently touched areas such as door handles and light switches. It’s best to use a solution of warm water and mild detergent for most surfaces and avoid harsh chemicals that could damage finishes.
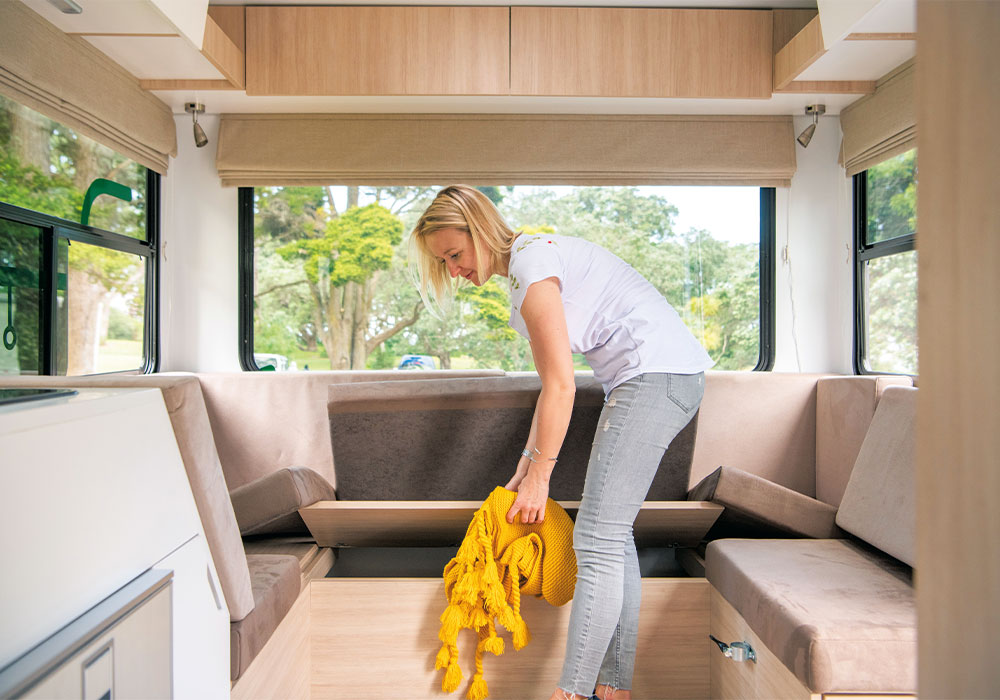
Don’t forget to give all your seating and bedding areas a good clean, too. Vacuum and spot-clean upholstery as needed. Wash or replace linen and cushion covers so that everything feels and looks fresh. You might like to reward your efforts with colourful new cushions and accessories to brighten things up.
Continue in the kitchen with a thorough cleaning of the fridge. Wipe down the interior with a mixture of baking soda and water to neutralise odours without leaving harmful residues. Don’t forget to clean the seals and, if possible, vacuum the coils behind the fridge to remove any dust and debris.
Next, it’s time to tackle the bathroom. Scrub the sink, shower, and toilet to remove grime and stains. Take care to avoid using bleach on plastic surfaces, as it can cause yellowing and damage over time. Instead, use a non-abrasive cleaner specifically designed for RV surfaces.
Lastly, don’t forget the windows and blinds. Dust or wash blinds and curtains to remove any built-up dirt and clean the windows inside and out. A handy tool to make this easy is a window vacuum. These are great for removing condensation from windows, too, which makes them a worthwhile investment.
While you’re at it, take a moment to clean and check interior seals, vents, and hatches. These areas can often be overlooked but are important for maintaining a comfortable and safe environment inside your RV. Clean the seals around windows and doors, checking for any signs of wear or damage that might need repair. Clear out any debris from vents and hatches to ensure proper ventilation and prevent any potential blockages.
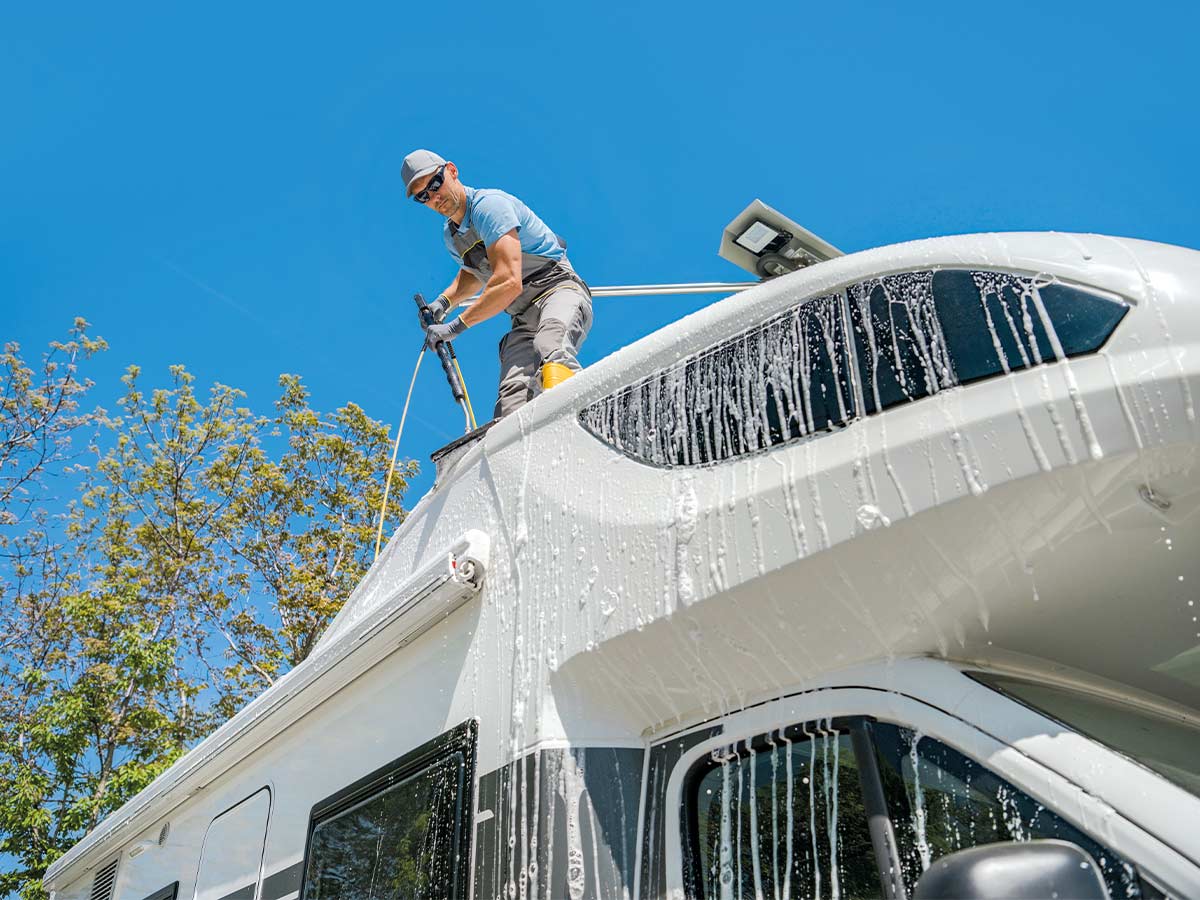
Let’s make that exterior shine
With the interior done and dusted, it’s time to get the outside of your RV looking shiny. Start by giving the entire exterior a thorough wash with soapy water. Use a long-handled brush and a mild detergent suitable for RVs to remove dirt and grime. Pay special attention to the roof, which can accumulate a lot of debris. You may need a ladder to do this safely. Make sure to rinse thoroughly afterwards to avoid soap residue, which can attract more dirt.
Next, check and clean the awning if you have one. Fully extend it and inspect for any tears, fraying, or other damage. Use a gentle cleaner specifically designed for awnings to remove dirt and mildew. Allow the awning to dry completely before retracting it to prevent mould and mildew growth.
As you’re cleaning, inspect all exterior seals, vents, and joints for leaks or damage. Pay close attention to the areas around windows, doors, and roof seams. If you notice any cracks or gaps, clean the area thoroughly and apply an RV sealant to prevent water intrusion. Regularly checking and maintaining seals can prevent costly repairs down the line.
Check all systems are go

Now that everything is clean and fresh, it’s a good idea to check that the systems in your RV are ready for another season of travel.
Plumbing
First up, flush, and sanitise your RV’s water system. Drain the freshwater tank completely, then fill it with a mix of water and an RV-specific sanitising solution. Let it sit for a few hours or overnight, then drain and flush with clean water until all the sanitiser is gone. While you’re at it, check all your taps, pipes, and connections for leaks.
Power
Next, let’s tackle the electrical system. The last thing you want when you’re setting up camp is to discover you’ve got an issue with your power. Grab a multimetre and check your battery’s charge – a fully charged 12-volt battery should read about 12.6 volts. Look over all the fuses and circuit breakers, replacing any that seem worn or damaged. Test each light, outlet, and appliance to make sure they’re working properly. Don’t forget to inspect your main power cable.
If you have solar panels, check they’re clean and free of debris, and inspect the wiring and connections for any wear or damage. Make sure your solar charge controller is doing its job and charging your battery as it should. Look for any signs of wear or fraying, and make sure the connectors are clean and corrosion-free.
Gas
Now, on to the LPG system. Start by turning off all LPG appliances and the main valve. Check the tanks for any obvious rust or damage. Inspect hoses and regulators for wear and replace them, if needed. Next, using a spray bottle, apply a soapy water solution to the connections and open the valve slightly – if you see bubbles, there’s a leak that needs fixing. Finally, make sure all your LPG appliances, such as the stove, fridge, and heater, are working efficiently. Don’t forget to install a CO detector inside your RV.
HVAC
Finally, let’s get your Heating, Ventilation, and Air Conditioning (HVAC) system in order. Clean or replace the air filters in both the heating and cooling systems. Test the heating system to ensure it’s warming effectively. If you have an air conditioner, check the filter and give it a clean if necessary. Run the air conditioner to make sure it’s cooling properly.
Routine checks
With your RV clean, tidy, and fresh, the next step is to make sure everything is in good working order under the hood.
Here are a few basics worth checking:
- Oil: Check the oil level with the dipstick and top it up if needed. The oil should be changed according to the manufacturer’s recommendations, usually every 10,000km or annually.
- Water levels: Ensure the coolant and windshield washer fluid levels are adequate and top them up if necessary.
- Brakes: Give the brakes a test to make sure they’re responsive. Listen for any strange sounds or vibrations. If something feels off, don’t risk it. Get them inspected by a professional.
- Lights: Check all the lights, including indicators, brake lights, and headlights, to ensure they’re working properly. Replace any burnt-out bulbs to keep your visibility and safety in check.
- Battery: Look at the battery terminals for corrosion and clean them if needed. Make sure the battery is holding a charge and consider testing it if it’s a few years old.
- Tyres: Regularly check the tyre pressure and tread depth. Properly inflated tyres improve fuel efficiency and handling. The minimum legal tread depth is 1.5mm, but the more tread you have, the safer you’ll be.
Spring safety
Before hitting the road, let’s make sure your RV is safe and ready for anything. Here’s a quick rundown of the key safety checks:
Smoke and CO detectors
First, give all your smoke and carbon monoxide detectors a test. Just press the test button on each one to make sure the alarm sounds. If the batteries are low, swap them out for fresh ones. And if any detectors aren’t working, replace them immediately. Having reliable detectors is a must for keeping everyone safe.
Fire extinguishers
Next, check your fire extinguisher. Look at the expiration date and ensure it’s still good to go. Check the pressure gauge too – the needle should be in the green zone. If any extinguishers are expired or damaged, replace them right away.
Emergency kit
Let’s take a look at your emergency kit. Your kit should have essentials such as a first-aid kit, flashlights with extra batteries, a multi-tool, bottled water, and any necessary medications. Restock any used or expired items and update them with fresh supplies.
Don’t forget your paperwork
Finally, before setting off on your spring travels, take a moment to ensure all your paperwork is up to date. Check that your Warrant of Fitness or Certificate of Fitness is current; these can be done at most vehicle inspection stations and certified centres, such as VTNZ or AA. Regular servicing is crucial, so aim for a professional service every 12 months or 10,000km to keep your motorhome roadworthy. Double-check that your insurance is up to date and offers the necessary coverage, and ensure your vehicle registration is current, and the sticker is properly displayed on your RV.
With everything clean, organised, safe, and checked, you can hit the road with peace of mind and ready for the next big adventure. Happy travels!
Maximising space in your RV is the key to keeping it organised and tidy
Here are a few handy tips:
- Use vertical space by installing hooks and hanging organisers
- Magnetic strips are great for keeping metal utensils in place
- Vacuum-sealed bags can compress clothing and bedding to save space
- Use tension rods to create additional hanging space inside cabinets or wardrobes
- Use Velcro strips to attach lightweight items such as remotes, flashlights, or small pouches to walls or the inside of cabinet doors. This keeps them handy but out of the way.
- Collapsible items can save loads of space. You’ll find collapsible pots, kettles, buckets, laundry baskets, and more at most RV accessory stores.